Planning and preparation
Hereinafter, you will find some general instructions for installing our products. This document does not aim to be a complete mounting instruction, we simply want to give you a few useful tips and tricks. The below refers to our standard products and do not apply to special product systems such as our metal roof tiles or the plain tile. Concerning such products, please ask for our special installation instructions.
![]()
Please note that in the download menu your collaborators or the mounting company have the possibility to print out a leaflet with picturized instructions.
Use of the right tools
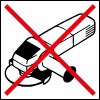
For cutting galvanised steel products never use an angle grinder (Flex) or similar tools. Due to the high rotational speed the zinc coating will be burned and as a consequence the cut edges will corrode soon after. Places of the metal sheet touched by the sparks will at medium term also show corrosion damages.
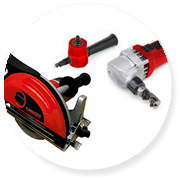
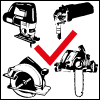
Suitable for cutting metal profiles are plate shears, nibblers, circular saws with blade for metal, pendulum action jigsaws or special plunge cut saws with a chain for metal. Regardless the used cutting tool under no circumstances the cutting edge may heat up too much as this would lead to burn of the zinc. The cutting edges will only remain fully galvanised and permanently protected against corrosion by the cathodic protection effect if a cold cut is operated. Metal burrs and splinters must be removed after the cutting process.
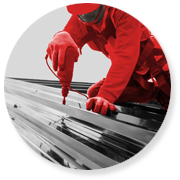
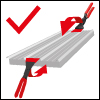
We recommend to use a strong cordless screwdriver for fastening the profiles. Please consider not to exceed the appropriate speed in accordance with the type of screw you use. A special metal seamer can be used for turning up or for turning down the valleys of the sheet. Just after mounting, by the use of a soft broom or a powerful leaf blower, the metal sheets have carefully to be cleaned of splinters.
When manipulating metal of synthetic products always wear appropriate gloves which protect against cuts.

General mounting instructions
Different substructures for supporting sandwich panels and profiled sheets exist. They can for example consist of wood, steel or concrete. The distances between the different points of support can be big or a solid planking is maybe present. The choice of the product is dependent of the type and design of the substructure. Customer has to do the right selection between different product systems, profile geometries, material thicknesses and type of screws. Not to forget the dead load, the wind load and the snow load which have to be taken into account in the aim to achieve sufficiently good static values.
For roof cladding we recommend the use of O-METAL® storm washer caps.
A combination of different materials that do not harmonise or that favours the appearance of corrosion of some components is to be avoided.
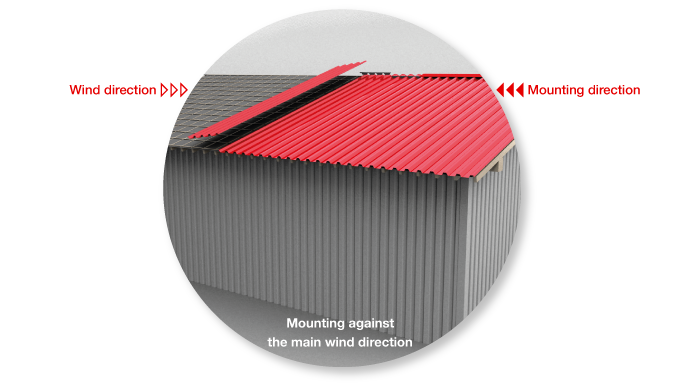
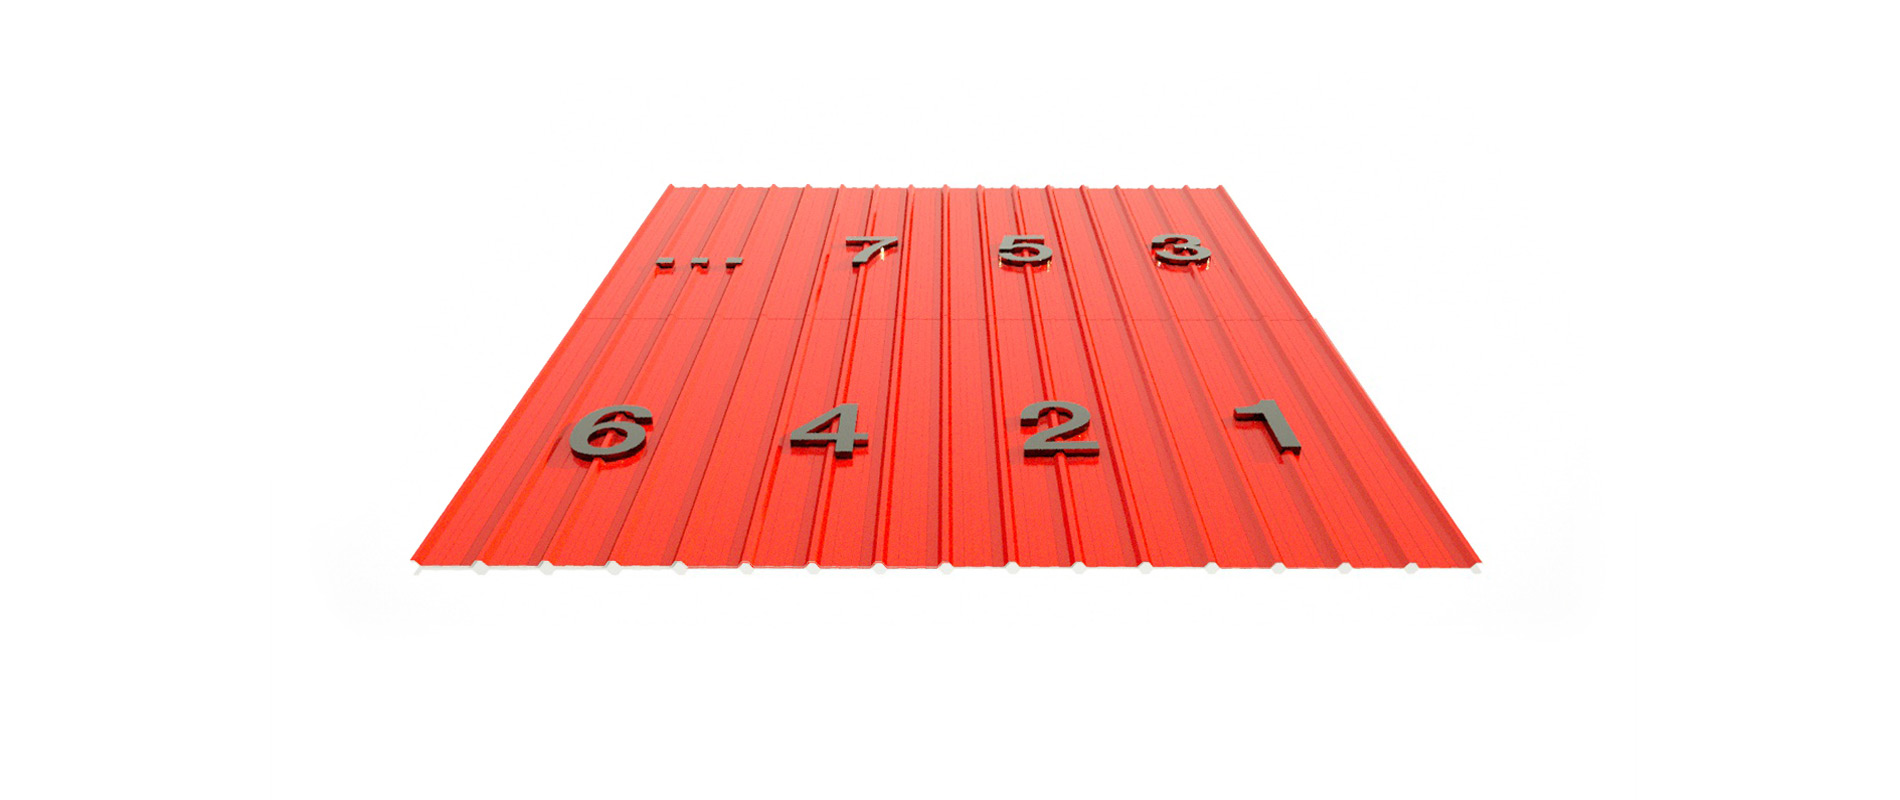
For minimising wind and weather influences on the side and the end laps corrugated sheets and sandwich panels are to be mounted against the main weather direction. This means that the mounting starts on the side of the building opposite the main wind direction.
A particular care should be taken for the alignment and the flush of the first profile. It is then advisable to stretch a line along the eaves side from one end of the building to the other, parallel to the substructure. When placing the panels, ensure that the correct laying sequence is followed to ensure watertightness and to make installation as easy and trouble-free as possible.
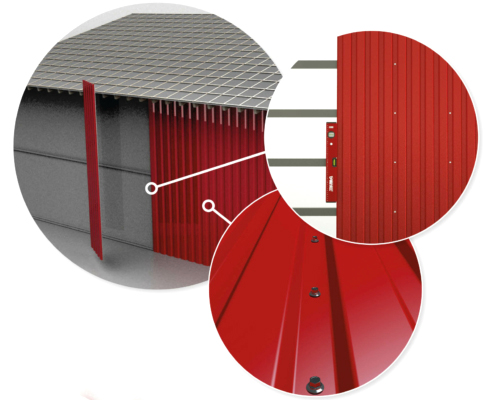
When installing O-METAL® wall claddings, it is advisable to start setting each panel in a vertical position by the use a plumb bob or spirit level. Only after the first and second profile has been prefixed in the overlap, the first panel is to be fixed completely. This prevents deformation and damages.
Corrugated sheets with anti-condensation fleece
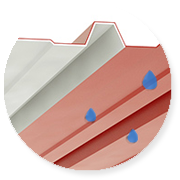
Anti-condensation fleece must be deactivated near the eaves and protruding gables but also when the sheets are prolonged in the sheet valley (end lap). Otherwise water is drawn from outside into the building.
The fleece can for example be deactivated by the following methods:
- flaming off with a Bunsen burner, a hot air dryer or with similar device (for avoiding excessive heating of the metal sheet and the paint coating we recommend to act quickly).
- by application of O-METAL lacquer VliesStopLack®
Use a suitable paintbrush, paint roller or spray gun.
Roofs with anti-condensation fleece always have to be well ventilated. The use of fleece in damp rooms is not recommended.
Mounting of sandwich panels
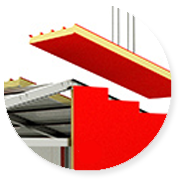
When mounting sandwich panels, special attention must be paid to the joint. Before screwing firmly press the panels against each other. This in order to prevent that the dew point is dislocated into the insulation and condensation is forming in the panel joint.
Sandwich wall panels with hidden fixing shall only be used in combination with load distribution plates. As such a sandwich panel is screwed on one side only, this is the only way to ensure sufficient distribution of the load. Eventually remaining protective foils have to be removed immediately after installation.
Light panels
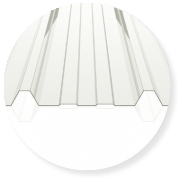
O-METAL® light panels are high-quality and durable. However, important principles are to be considered. Because of the “burning lens effect” they may not be exposed to direct sunlight if packed in a stack. Place them on squared timber and cover them with opaque, light-coloured material. Heat accumulation and moisture must be avoided. Do not store them on warmed up ground. They should be cut to size with fine-toothed saws (e.g. foxtail saw, hacksaw, etc.) or individually with cut-off grinders (Flex).
Light panels expand strongly when exposed to heat. For preventing compression and deformation, the screw holes must always be pre-drilled 3 mm larger than the screw diameter. If used on the roof, light panels must be fixed on the crown together with spacers and caps. If mounted on the wall they are fixed in the sheet valley. Light panels must always be installed against the main weather direction with the UV protection mark turned outwards. It is never possible to walk on light panels! If at all, they may only be walked on while using walk boards. The minimum roof pitch of 10° should be observed. Non-insulated light panels must be sufficiently and adequately ventilated.
Accessories
When planning your building project, please remember to order the mounting accessories for O-METAL® corrugated profiles and sandwich panels. Most frequently used accessories are:
- Flat sheets, flashings such as ridge cap, verge cap, eaves flashing, snow guards, valley channels, outer and inner corners, drip edges, door, gate and window frames.
- Sealing screws for wood, steel and concrete, overlapping screws, rivets and caps
- Suitable mounting tools, e.g. cordless screwdriver and suitable cutting tool
- Light panels, spacers, bird spikes filler, box gutter, repair paint, repair screws, profile fillers, sealing tapes, permanently elastic sealant, venting or antenna cable collar, etc.
Upon receipt of your goods and accessories you can start mounting O-METAL® profiled sheets and sandwich panels without any delay.
DO YOU HAVE ANY QUESTIONS?
WE WOULD LIKE TO HELP YOU PERSONALLY
